


Installing Your Doorknob Set
Need help installing your doorknob? Watch our step-by-step installation videos below! Not sure which doorknob set you have? Check out our descriptions below to find the right one for your needs.
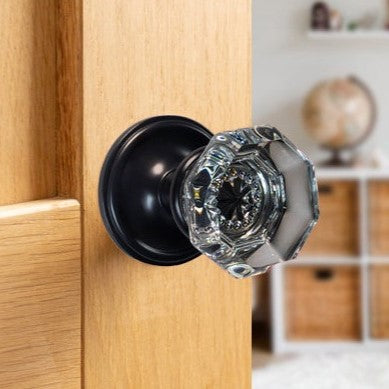
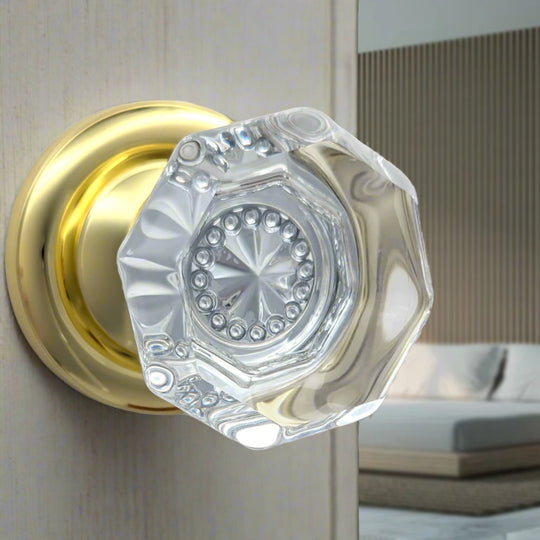
Traditional Vs Magnifique Passage & Privacy Doorknob Sets
Ask yourself one simple question: Did my doorknob arrive attached to my rosette?
✔️ Magnifique doorknob sets DO.
❌ Traditional doorknob sets DO NOT.